
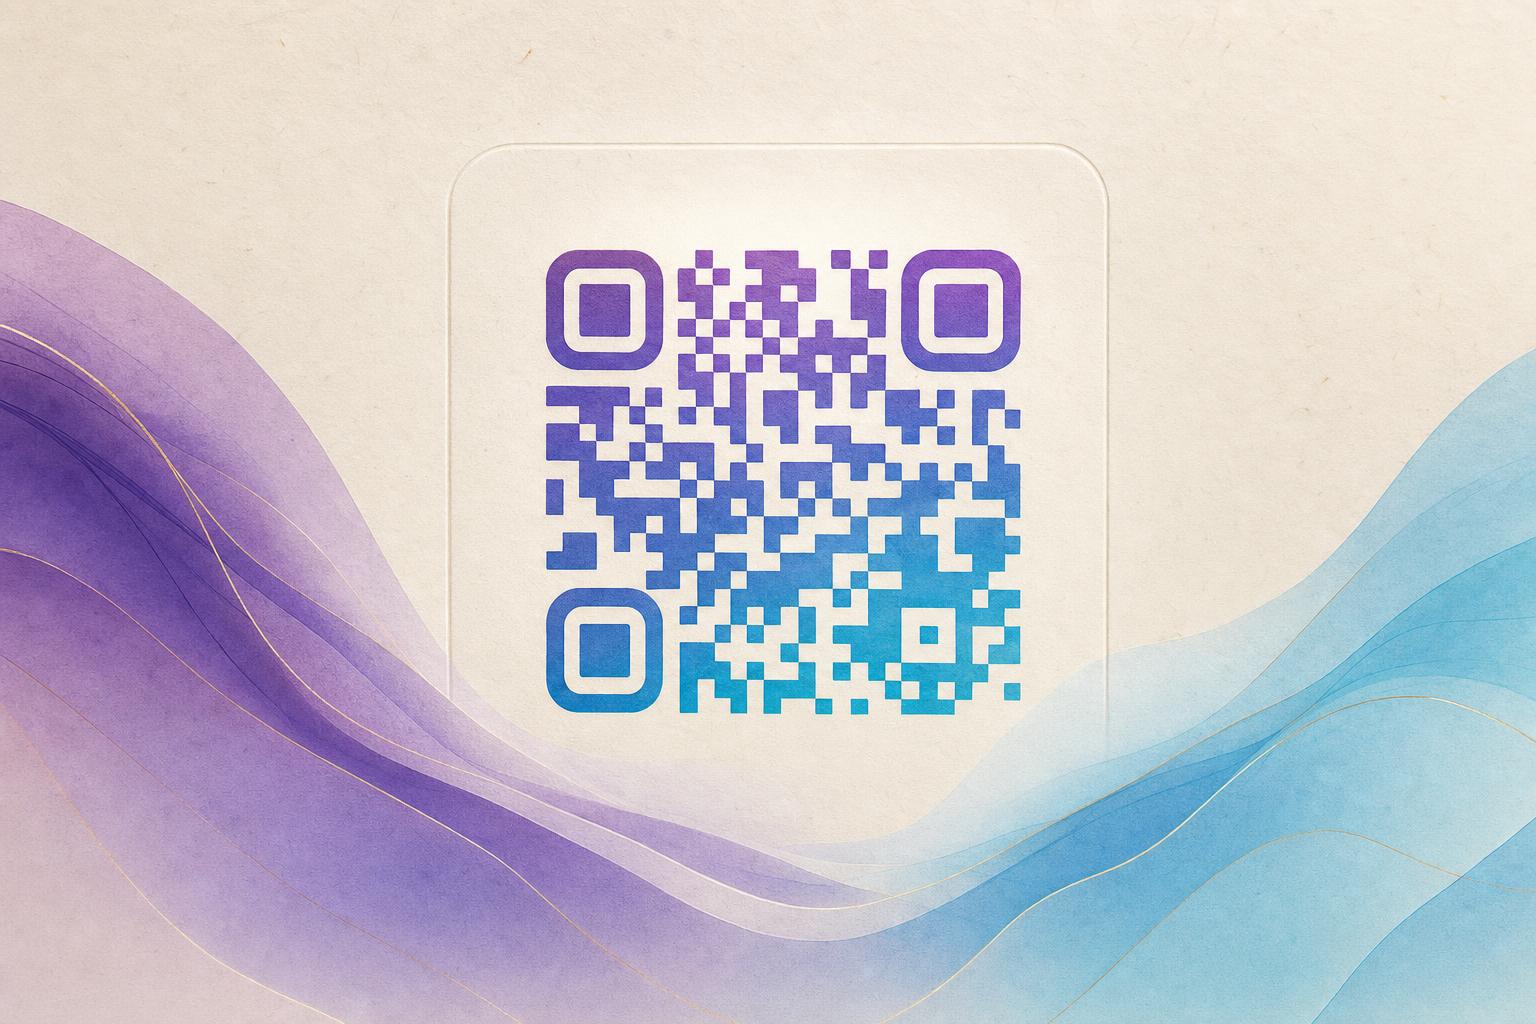
A qr code generator online free is a browser-based tool that turns a URL, text, or file link into a scannable square image without installing software or paying upfront. You paste your destination, choose a style, and download the code. The catch is that most free generators produce the same flat black-and-white block. If you want something people actually enjoy scanning, you can use a free generator that layers an AI QR code design over the working pattern. This guide shows you how to do that from start to finish using the AI Art QR tool.
What an AI artistic QR code actually is
An artistic QR code is a normal QR code with a generated image blended into it. The dark modules stay dark enough to read, and the artwork fills the gaps so the result looks like a small poster rather than a barcode. Your phone still reads it because the encoding pattern is intact underneath. The AI art QR approach is popular for menus, event flyers, product tags, and business cards where a plain code would feel out of place.
Step 1: Decide what the code should do
Before you open any qr code generator, know your destination. This keeps you from redesigning later.
- Scan to redirect to a landing page or promotion
- A membership QR for sign-ups or loyalty cards
- A menu, portfolio, or product page
- A campaign QR code for print ads and packaging
Write the exact URL down. Short links scan faster and leave more room for artwork, so trim long tracking strings if you can.
Step 2: Open the free generator
Go to the AI Art QR generator in your browser. It runs online, so there is nothing to install. You will see a field for your link and a set of style controls. This is the same starting point as any qr code generator online free tool, but the output is designed rather than default.
Step 3: Paste your link and set the basics
- Paste your URL into the destination field.
- Pick the content type if the tool asks (link, text, Wi-Fi, and so on).
- Choose a size large enough for print, usually 1000 px or more on the long edge.
- Keep a quiet margin around the code; scanners need that clear border.
If you plan to change the destination later without reprinting, look for a dynamic QR code option. A live QR code points to a short link you control, so you can update the target after the poster is printed. That is the difference between a static image and an editable QR code.
Step 4: Pick an art style
This is where the design happens. Choose a theme that matches your brand or the poster behind the code:
- Photographic scenes for travel, food, or real estate
- Illustrated or painterly looks for creative brands
- Minimal geometric patterns for corporate material
- Bold color fields for event flyers
Good QR branding means the code looks like it belongs on the page. If the poster is dark, a light code with soft art reads better. If the poster is bright, a deeper palette keeps contrast.
Step 5: Blend a photo or logo
Many people want the code built around a product shot or a company mark. Use the blend controls to place your image so the key details sit in open areas, not under the dense modules. Keep the center logo small; a logo that covers too much of the pattern will break scanning. A circular QR code layout can look cleaner on round stickers and badges, while a square layout suits posters and packaging.
Step 6: Tune contrast and test
Art is only useful if the code scans. After generating, check these points:
- Dark modules must stay clearly darker than the background.
- Do not let artwork erase the three corner finder squares.
- Test with two phones at normal distance and in low light.
- Print a small proof before a full print run.
If a scan fails, raise contrast, reduce the art opacity, or shrink the logo and regenerate.
Step 7: Add tracking and a custom link
For campaigns, a trackable QR code tells you how many people scanned and from where. A custom short link keeps the URL tidy, and a custom QR domain makes the redirect look trustworthy when someone inspects it. Pair this with QR analytics so you can compare a poster code against a social code and see which placement works.
Design the code for the surface it lives on, then test it on that exact surface before you print.
Step 8: Export and place it well
Download a high-resolution file, preferably PNG or SVG for print and PNG for screens. Leave clear space around the code, and avoid placing it over busy textures. If you are building a full layout, an AI poster workflow lets you drop the finished code into a designed frame so the whole piece feels intentional rather than pasted on.
Common mistakes to avoid
- Making the code too small for the viewing distance
- Using low-contrast colors such as light gray on white
- Covering the corner markers with artwork
- Forgetting to test after every design change
- Printing a static code when you may need to update the link
Quick recap
Start with a clear destination, generate the code in a free online tool, choose art that fits your brand, blend in a logo only where it does not block the pattern, and test on real phones before printing. With a free qr code generator online free workflow and a little attention to contrast, you get a code that works and looks like part of your design.