
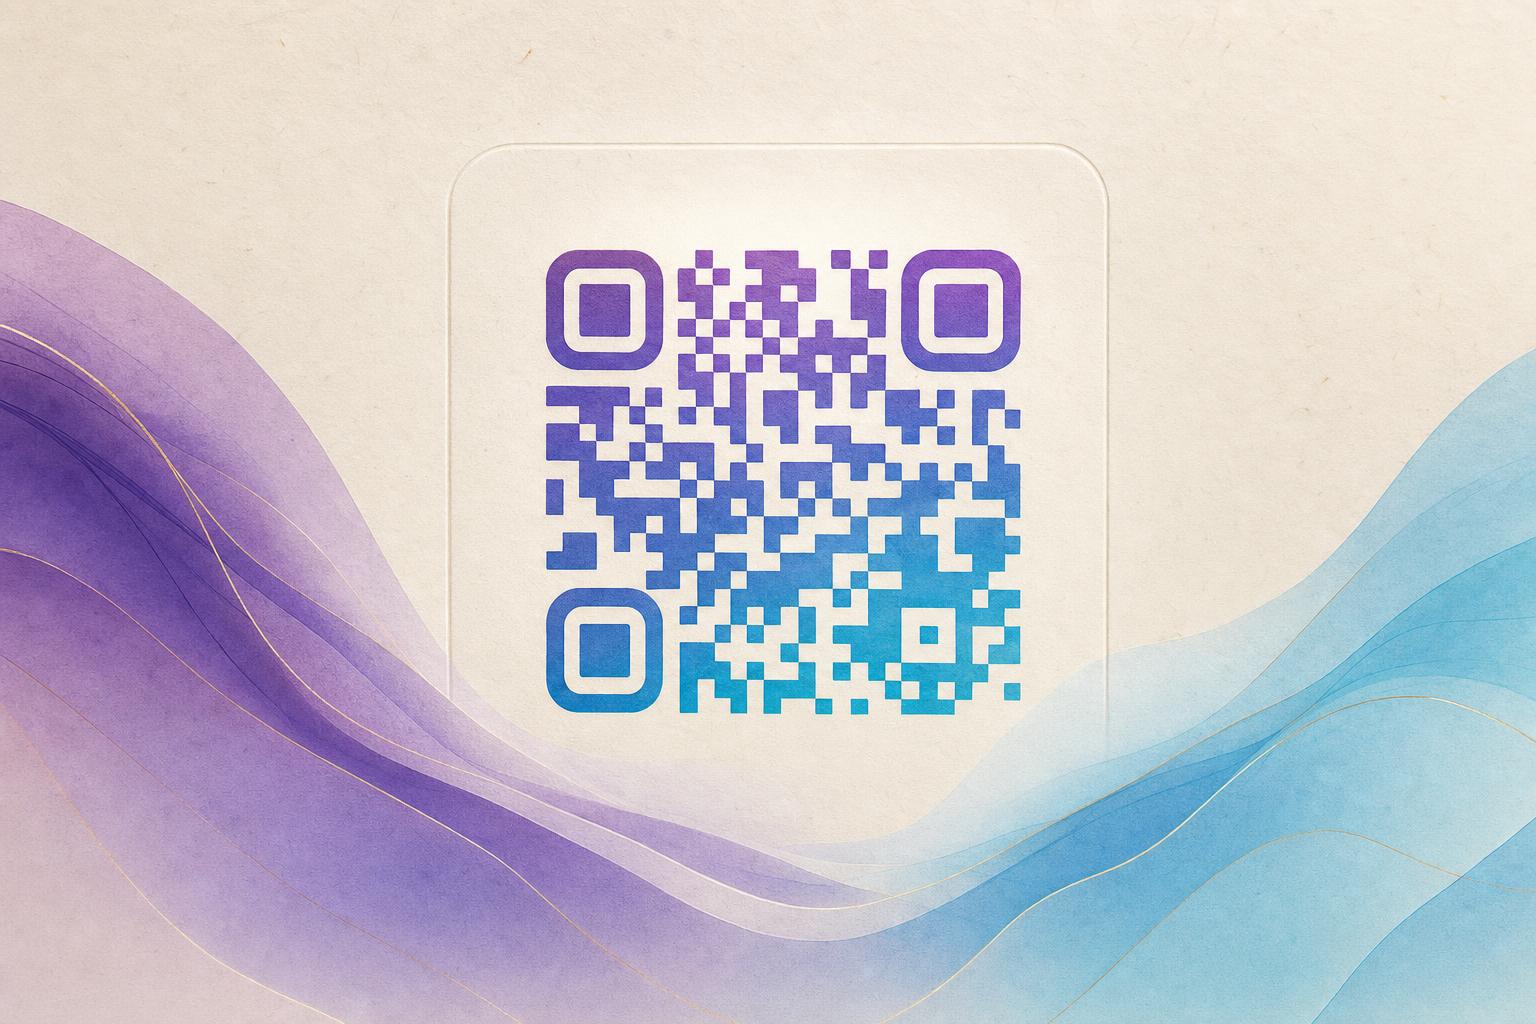
A qr code generator สร้าง is the tool you use to generate a QR code from a link, then style it into something people actually want to scan. If you searched for that phrase, you are probably looking for a generator that lets you create a code and make it look good at the same time. That is exactly what an AI art QR workflow does: you start with a destination URL, let the generator build a scannable code, and then apply art, a photo, or a logo so the result fits your brand. This guide walks through the full process from blank code to a polished artistic QR code you can print or post.
What an Artistic QR Code Actually Is
An artistic QR code is still a real QR code. The modules, finder patterns, and quiet zone all remain intact so scanners can read it. What changes is the surface: colors, gradients, background imagery, or blended artwork sit around and behind the data modules. The best AI QR code tools preserve contrast in the critical areas and let you adjust error correction so the code survives the decoration.
Two things separate a good artistic code from a broken one:
- Contrast where it matters. The three corner squares and the timing patterns must stay dark against a light background.
- Error correction headroom. Higher correction levels tolerate more visual noise, which gives you room to blend photos or art.
Step 1: Decide What the Code Should Do
Before you open any QR code generator, pick the job. A campaign QR code on a poster usually points to a landing page. A membership QR might open a signup form. A menu code should go straight to the menu. Write the exact destination URL down first, because every later design choice should serve that one action.
If you plan to change the destination later, choose a dynamic QR code. Dynamic codes route through a short link, so you can update the target without reprinting. That is the difference between a static image and a live QR code you can manage over time.
Step 2: Generate the Base Code
Open the AI Art QR generator and paste your URL. Set the error correction level to high if you intend to blend artwork into the code. Keep the initial version plain: black modules on white, generous margin. This is your control copy. Scan it once with two different phones before you decorate anything.
Always test the plain code first. If the base code fails, no amount of design will fix it.
Step 3: Choose a Style Direction
Now decide how the code should look. Most projects fall into one of four buckets:
- Blended photo or logo. Your product shot, portrait, or logo sits behind or inside the code. Use a QR fusion approach so the image and modules share the same palette.
- Themed art. Seasonal, event, or campaign artwork wraps the code. Great for flyers and packaging.
- Hidden text art. The code is built from tiny letters or a phrase, so it reads as a design piece up close and a code from a distance. This is where AI hidden text shines.
- Animated GIF. A short looping animation for screens, stories, and digital signage.
If you want a poster-style result, generate the artwork first in an online poster maker, then drop the code into the composition rather than forcing the code to carry everything.
Step 4: Blend the Art Without Killing Scannability
This is the step where most people break their codes. Follow these rules:
- Keep the three finder squares solid and high contrast.
- Do not place busy detail directly over the center of the code unless error correction is set high.
- Use a circular QR code or rounded module style only if your scanner tests still pass.
- Maintain a clear quiet zone around the edges, even if the background is decorative.
- Test at the final print size, not just on a desktop screen.
A styled QR code should look intentional, not noisy. If the art competes with the modules, simplify the art before you lower the correction level.
Step 5: Keep It Editable
Choose an editable QR code so you are not stuck with your first draft. An editable QR code generator lets you swap colors, replace the logo, or change the destination after the fact. This matters for QR branding: brand colors shift, campaigns end, and landing pages move. A dynamic QR code tool with a custom short link and a custom QR domain keeps everything under your control and makes the code look trustworthy.
Step 6: Add Tracking and Redirects
Once the design is locked, set up QR analytics so you know how the code performs. A trackable QR code records scan counts, rough location, and device type. Use a smart QR redirect to send mobile users to an app store link and desktop users to a web page. If you are running several placements, create separate codes per channel so your QR code marketing data stays clean.
Step 7: Test, Export, and Deploy
Run a final scan test on at least three devices and one older phone if you have it. Check the code in the exact context it will live in: printed at 2 cm on a business card, or displayed at full width on a screen. Export a vector file for print and a PNG for digital. Then place it where the call to action is obvious.
Common Mistakes to Avoid
- Decorating before testing the plain code.
- Using low contrast because the palette looked nicer.
- Forgetting the quiet zone on dark backgrounds.
- Choosing a static code for a long campaign you may need to edit.
- Skipping analytics, then guessing why scans were low.
Final Take
A qr code generator สร้าง is only as good as the design decisions around it. Start with a clean, tested code, pick a style that matches your brand, blend art carefully, and keep the code editable and trackable. Done well, an AI art QR becomes a design asset rather than a utility box, and your QR code studio workflow stays repeatable for every campaign that follows.