
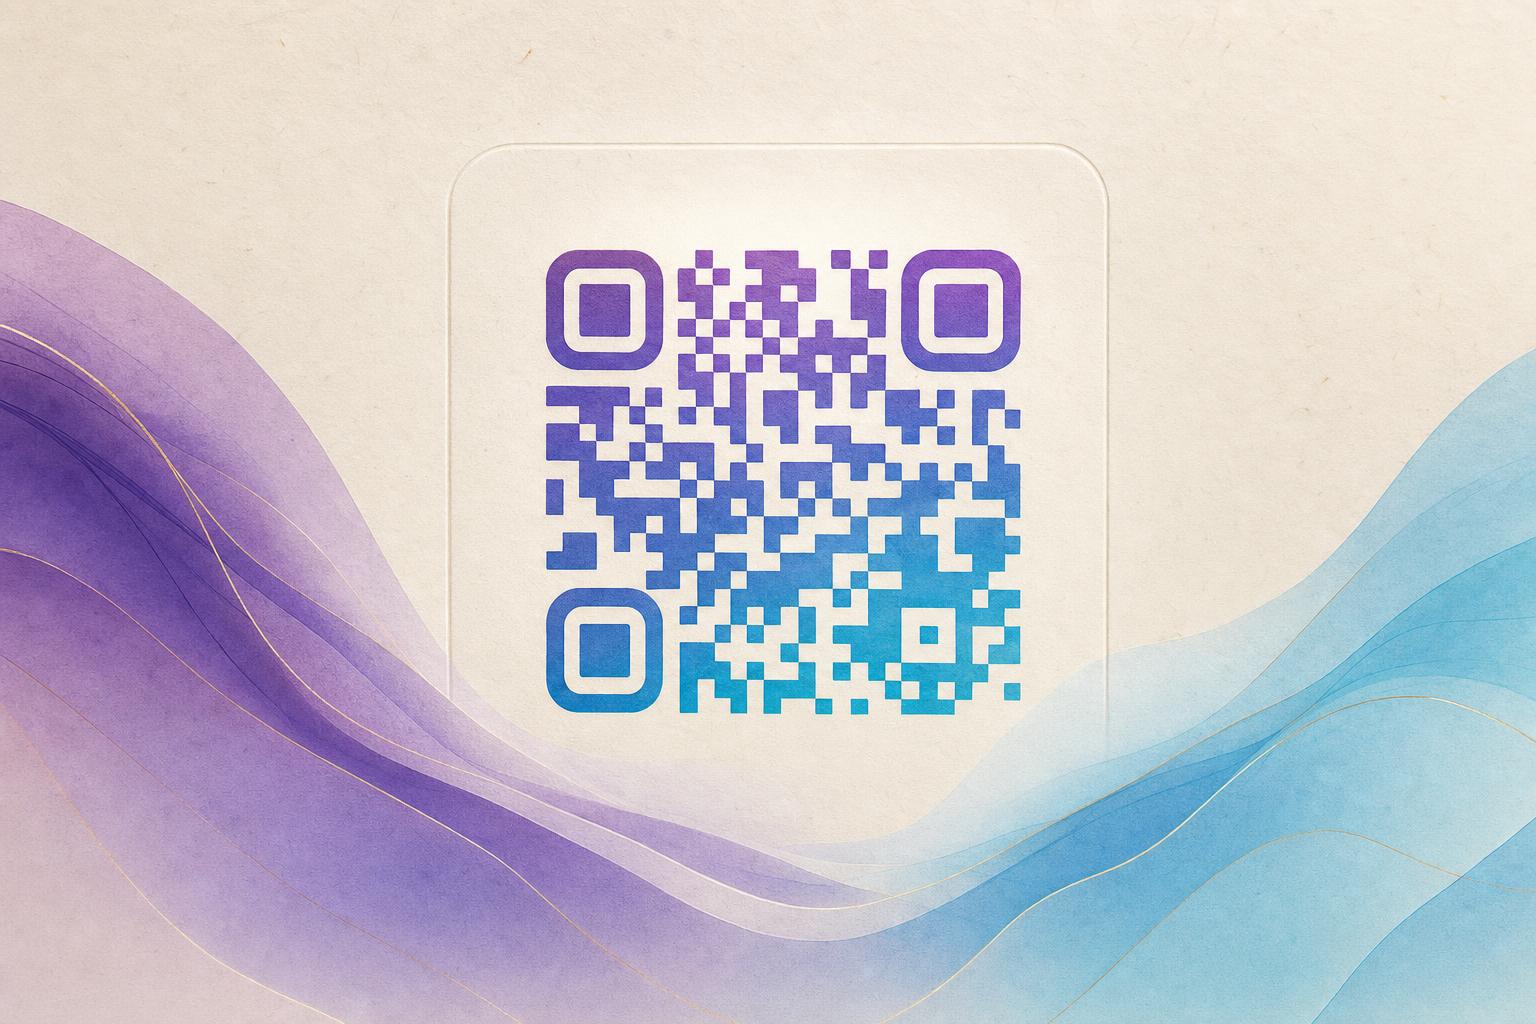
A dynamic QR code generator is a tool that lets you create a QR code whose destination you can change later, and then style it so it looks like part of your design instead of a black-and-white sticker. With Aiqrdream you can generate the code, beautify QR code elements into a piece of AI art, and keep the redirect editable after printing. The short answer: pick your link, let the AI Art QR tool blend that link into a themed image, then download it and point a custom short link at any page you want.
Below is the full process, including the settings that matter most for scan reliability and the checks worth running before you send anything to print.
Step 1: Decide what the code should do
Before you open any tool, write down the job of the code. A dynamic QR code is only useful if the redirect has a clear purpose, because that is the part you will edit later.
- Scan to redirect to a campaign landing page, menu, or signup form.
- Membership QR for a loyalty card or event check-in.
- Campaign QR code for a poster, flyer, or product label.
- Live QR code on a screen or slide deck that you may need to repoint.
Write the destination URL down. If it is long and messy, plan a custom short link so the code resolves quickly and you can swap the target later without reprinting.
Step 2: Generate the base code with a dynamic QR code generator
Open the AI art QR tool and enter your URL. This first pass creates the functional code. Keep these defaults in mind:
- Error correction: choose the highest level the tool allows. Artistic QR codes cover part of the pattern with artwork, so extra redundancy is what keeps them scannable.
- Quiet zone: keep a clear margin around the code. Do not let art bleed into that border.
- Contrast: the code modules must stay darker than the background behind them. Light art over dark modules is the most common failure.
Test this plain version on two phones before you add any styling. If the base code fails, the art will only make it worse.
Step 3: Choose the art direction
Now the fun part. You are turning a utility into a styled QR code that belongs in your layout. A few directions work well:
- Photo fusion: blend the code into a product photo or a venue shot so the pattern reads as texture, shadow, or foliage.
- Logo fusion: place your mark in the center and let the surrounding pattern absorb the brand colors.
- Themed illustration: a poster-style scene with the code tucked into one region.
- Minimal geometry: a circular QR code or rounded modules for a cleaner, more modern look.
If you want the code to sit inside a full layout rather than stand alone, build the artwork first with the art QR tool and treat the code as one element of the composition.
Rule of thumb: the more beautiful the code, the more test scans it needs. Beauty is free; a failed scan is not.
Step 4: Blend the code into the image
Upload or generate your artwork, then position the code so the modules land on areas with enough contrast. Most failures come from three mistakes:
- Busy backgrounds. Fine detail behind the modules confuses the scanner. Soften or blur that region slightly.
- Low contrast. Dark art on a dark background hides the pattern. Add a subtle light halo behind the code.
- Over-styling the finder patterns. The three corner squares are how scanners lock on. Keep them intact and high-contrast even if everything else is decorative.
Use the preview to check that the pattern still reads as a pattern, not as noise. If you squint and cannot see the grid, the scanner probably cannot either.
Step 5: Set up the dynamic redirect and analytics
This is where a dynamic QR code earns its keep. Point the code at a custom short link on your own custom QR domain, then set the final destination behind it. Benefits:
- Editable QR code: change the destination without reprinting anything.
- Smart QR redirect: send mobile users to one page and desktop users to another, or rotate between campaign variants.
- QR analytics: see scan counts by day, device, and rough location so you know which placements actually work.
Label each placement separately, for example one short link for the poster and another for the table tent, so your QR code marketing data stays readable.
Step 6: Test, then test again
Run a short checklist before publishing:
- Scan from at least three devices, including one older phone.
- Scan at the real print size, not just zoomed in on a monitor.
- Test under poor lighting and at an angle.
- Confirm the redirect lands on the right page and loads fast.
If a scan fails, increase the quiet zone, raise contrast, or shrink the artwork overlap. Fix the cause rather than adding more decoration.
Step 7: Export and place it
Download a high-resolution file, ideally vector or a large PNG, and place it at a size that keeps modules crisp. Minimum practical print size is roughly 2 by 2 centimeters, larger for distance scanning on posters. Keep the code away from folds and reflective surfaces, and never stretch it out of proportion.
Step 8: Reuse the same code for the next campaign
Because the destination is editable, one printed artistic QR code can serve several campaigns. Update the redirect, refresh the landing page, and leave the artwork untouched. Over time your QR analytics become a record of which designs and placements perform, which is far more useful than guessing.
That is the whole workflow: generate, style, redirect, test, and reuse. Start with a clean base code, let the artwork support the pattern instead of fighting it, and keep the redirect flexible so the printed piece keeps working long after launch.