
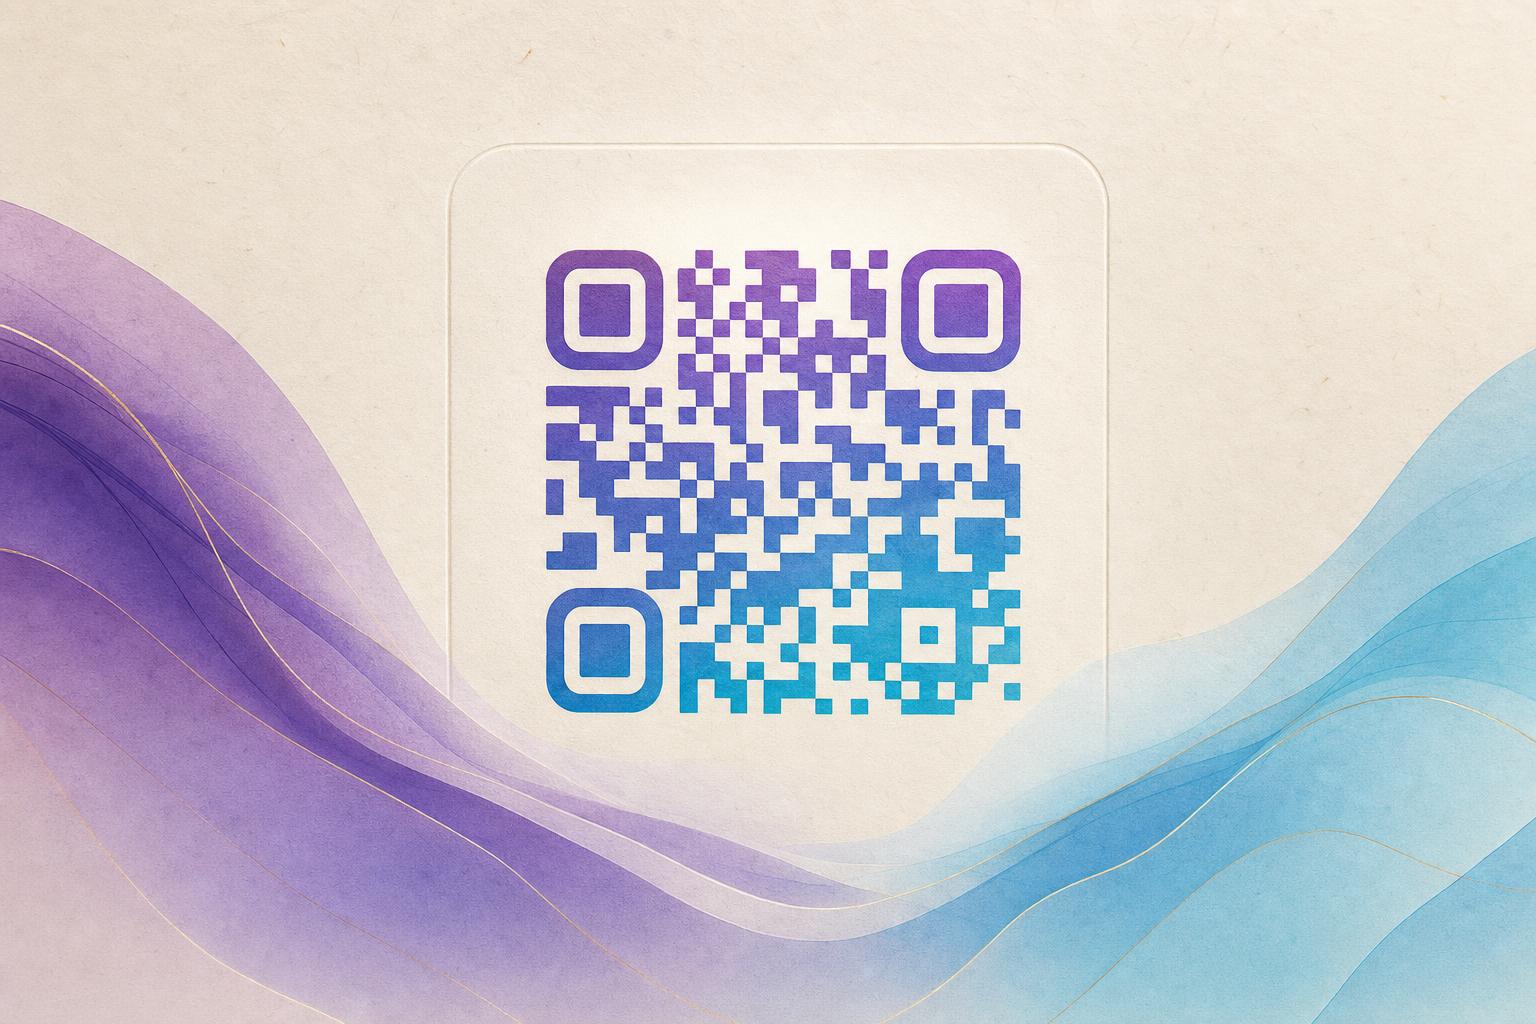
A dynamic QR code display device is any screen, tablet, kiosk, or printed stand that shows a dynamic QR code, meaning the code's destination can be changed after it is created while the image itself stays the same. You set up the code once, place it on your display, and later edit the redirect target from your dashboard without reprinting or reinstalling anything. The short version: build a dynamic code, style it so it looks like part of your brand, then load it onto the screen or sign that faces your audience.
Below is a practical, step-by-step workflow you can follow today, from first click to a live, trackable display.
Step 1: Decide what the display needs to do
Before you touch a generator, answer three questions. Where will the code live (a wall-mounted screen, a counter tablet, a printed poster, a table tent)? Who scans it (customers, members, event guests)? And what should happen after the scan (open a menu, join a membership, claim an offer, redirect to a landing page)?
This matters because display context shapes design. A code shown on a bright screen needs high contrast. A code printed small on a poster needs a wider quiet zone. A code on a membership card needs to stay legible at thumbnail size. Write your answers down; they will guide every choice that follows.
Step 2: Create the dynamic QR code first
Always build the dynamic layer before styling. Open a qr code generator online and create a dynamic qr code rather than a static one. Dynamic codes route through a short link you control, which is what makes the display reusable.
- Choose the destination URL or action (web page, membership signup, offer page).
- Set a custom short link so the code looks clean and branded.
- If available, connect a custom QR domain so scans read as your brand, not a generic shortener.
- Save the code and note its edit link or dashboard location.
Because the code is now a trackable QR code and an editable QR code, you can swap the destination later, run seasonal campaigns, or fix a broken link without touching the physical display.
Step 3: Beautify the code with AI art
A plain black-and-white square works, but on a branded display it often looks pasted on. This is where styling pays off. Use the AI Art QR tool to turn the code into an artistic QR code that blends with your visuals while staying scannable.
Practical ways to beautify QR code output for a display:
- AI art QR styling: prompt for a scene, texture, or motif that matches your brand, and let the tool weave the code into the artwork.
- Photo or logo fusion: place your logo or a product photo in the center so the code reads as a designed asset, not a utility.
- Circular QR code shapes: a circular qr code looks natural on round signage, badges, and coasters.
- Hidden text art: use AI hidden text so a word or slogan appears inside the pattern.
Keep the contrast strong and preserve the quiet zone. After styling, always test with at least two phones at the real viewing distance.
Step 4: Match the code to the display format
Now prepare the asset for the device itself.
Digital screens and tablets
- Export the code at high resolution and display it at a size that fills roughly a third of the screen.
- Add a short call to action above it: "Scan to join" or "Scan for today's offer."
- If the screen loops content, keep the code visible for several seconds at a time.
Printed signs and posters
- Print at a minimum of 2 cm per side for close-range scanning, larger for distance viewing.
- Use matte finishes to avoid glare that breaks scanning.
- Combine the code with an AI poster layout so the whole piece feels intentional.
Animated displays
If your device supports motion, an animated code can draw attention. A GIF version keeps the underlying redirect intact while adding movement. Just slow the animation enough that cameras can lock on.
Step 5: Deploy and test on the actual device
Load the final asset onto your display and test it in place, not on your desk. Scan from the typical customer distance, in the typical lighting, with a mid-range phone. Check that the redirect loads quickly and that the landing page is mobile-friendly. If the code sits behind glass or acrylic, confirm the reflection does not interfere.
Step 6: Use analytics and smart redirects
Once live, treat the display as a measurable channel. Open your QR analytics to see scan counts by time and location. Then use smart QR redirect rules to send scanners to different destinations based on context, such as time of day or campaign period.
Common post-launch moves:
- Rotate the destination for weekly promotions without reprinting.
- Point the code to a membership QR signup during slow hours and to an offer page during peak hours.
- Compare scan rates across multiple displays to see which placement performs best.
- Retire underperforming placements and reuse the same code elsewhere.
Step 7: Keep it consistent with your branding
Repeat the same visual language across every display: same colors, same corner style, same call-to-action phrasing. Consistent QR branding trains audiences to recognize your codes and scan them without hesitation. A single QR code studio workflow, where you save templates and reuse them, keeps every display on brand and saves setup time on each new placement.
Quick checklist before you go live
- Dynamic code created and destination confirmed
- Custom short link or custom QR domain applied
- Code styled and tested for contrast and quiet zone
- Asset sized correctly for the screen or print format
- Call to action visible near the code
- Analytics verified after the first test scans
- Edit access saved so the destination can change later
A dynamic QR code display device is only as good as the code it shows. Build the dynamic layer first, style it with care, test it in the real environment, and let analytics guide what happens next. Done this way, one display can serve dozens of campaigns without ever being reprinted.