
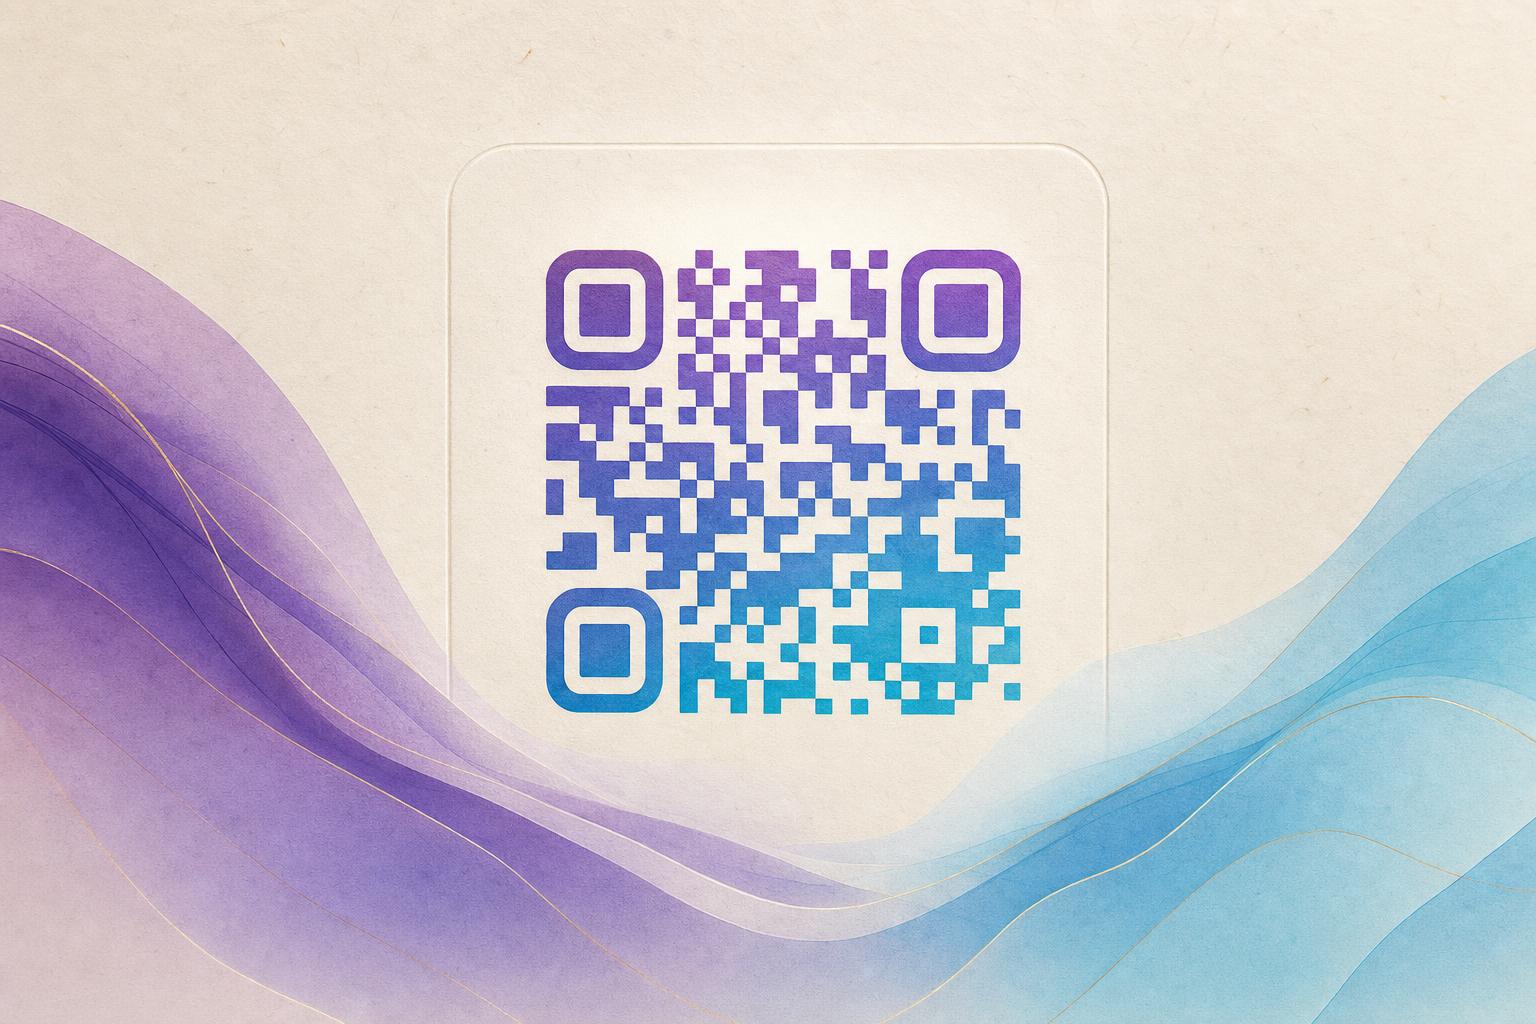
A circular QR code generator lets you replace the familiar square block with a round code that fits logos, badges, stickers, and product labels far more naturally. The catch is that round codes need careful contrast and a clean center so phones can still lock onto the three finder patterns. The good news: you do not need design software or coding skills. With an artistic QR code generator you can shape the code, blend it with artwork, and test it in minutes.
This guide walks through the full process using AI Art QR, from picking a round style to verifying the final scan. Follow the steps in order and you will end up with a circular code that looks custom and works on real phones.
Step 1: Decide what the round code is for
Before you open any tool, write down the destination and the context. A circular QR code on a coffee cup sleeve has different constraints than one on a conference badge or a shop window decal. Ask yourself:
- Where will it be scanned? Close-up on a phone screen, or from a meter away on a poster?
- What is the destination? A menu, a landing page, a membership signup, or a custom short link.
- Will you change the link later? If yes, use a dynamic QR code so the destination stays editable without reprinting.
- What size will it print? Small stickers need simpler art and stronger contrast than large decals.
Knowing this up front prevents the most common mistake: building a beautiful round code that is too busy to scan at the intended distance.
Step 2: Choose a circular template and art style
Open the AI Art QR tool and enter your destination URL or text. Then pick a circular layout. Most round styles keep the three corner finder patterns intact while rounding the body modules, which is exactly what scanners expect.
Next, choose an art direction. You can keep it minimal with a solid ring and a small logo in the middle, or go bold with an AI art QR that blends the code into a scene. A few practical options:
- Minimal round badge: best for packaging, labels, and business cards.
- Photo fusion: blend the code into a product photo or brand image using the fusion approach.
- Themed artwork: seasonal or campaign visuals for events and promotions.
- Animated version: a moving round code for screens, stories, and digital signage.
If you want the code woven into a photo or logo, the fusion route is the better fit. If you want motion, an animated GIF QR is the right choice. For most first attempts, start with a simple circular style and add complexity only after a successful test scan.
Step 3: Keep the scan zone clean
A circular QR code fails for one main reason: the center gets covered by a logo, or the contrast drops too low. Protect the scan by following these rules:
- Leave the center clear or lightly marked. A small logo is fine, but keep it under roughly a fifth of the total width.
- Maintain strong contrast. Dark modules on a light background scan best. Inverted colors work on some phones but fail on many.
- Do not crop the finder patterns. The three corner squares and the timing patterns must stay intact even in a round design.
- Avoid busy art behind the code body. Place detailed artwork outside the ring or in the corners, not across the modules.
- Keep a quiet margin. Leave empty space around the circle so the camera can separate the code from its surroundings.
These five rules do more for reliability than any other adjustment. When in doubt, simplify.
Step 4: Add branding without breaking the code
This is where a styled QR code earns its keep. Use brand colors for the ring, place your logo in the center, and add a short call to action such as "Scan for menu" or "Join the club." A caption increases scan rates because people know what they will get.
For QR branding, keep the palette to two or three colors. A high-contrast dark brand color on white or cream is safest. If your brand color is pale yellow or light gray, use it for the ring only and keep the modules dark.
Design tip: build the round code at final print size, not at thumbnail size. What looks clean on a laptop screen can turn muddy on a 3 cm sticker.
Step 5: Make it dynamic and trackable
A static code locks in its destination forever. A dynamic QR code points to a short link you control, so you can change the destination, swap campaigns, and collect scan data without reprinting. This matters for QR code marketing, where a single printed round code may run for months.
Set up a custom short link or custom QR domain so the code looks professional and reinforces your brand. Then enable QR analytics to see scans by time, place, and device. A trackable QR code turns a printed sticker into a measurable channel.
Dynamic codes are also useful for membership QR cards, event check-ins, and scan to redirect flows where the destination changes by season or audience.
Step 6: Test before you print or publish
Never ship a circular QR code without testing. Run this checklist:
- Scan with at least two phones, one iOS and one Android.
- Test at the real viewing distance and in the real lighting.
- Print a proof at final size and scan the paper copy, not just the screen.
- Check the destination on mobile data as well as Wi-Fi.
- Confirm the link works after any redirect changes.
If a scan fails, increase contrast first, then shrink the center logo, then simplify the background art. Those three fixes solve most problems.
Step 7: Reuse the design across channels
Once your round code scans reliably, reuse it. Export a high-resolution version for print, a smaller version for web, and an animated variant for screens. A consistent circular QR code across packaging, posters, and social posts builds recognition and makes your QR design feel intentional rather than added on.
Pair the code with an AI poster design so the artwork and the scan target tell the same story. If you need a full layout, an online poster maker or poster generator can place the round code in a clean, high-contrast spot.
Quick recap
Making a circular QR code is straightforward when you work in order: define the purpose, choose a round template, protect the scan zone, add restrained branding, make it dynamic and trackable, then test at final size. Start simple, verify the scan, and add artistic detail only after the code proves reliable. That workflow gives you a round code that looks designed and still does its job.