
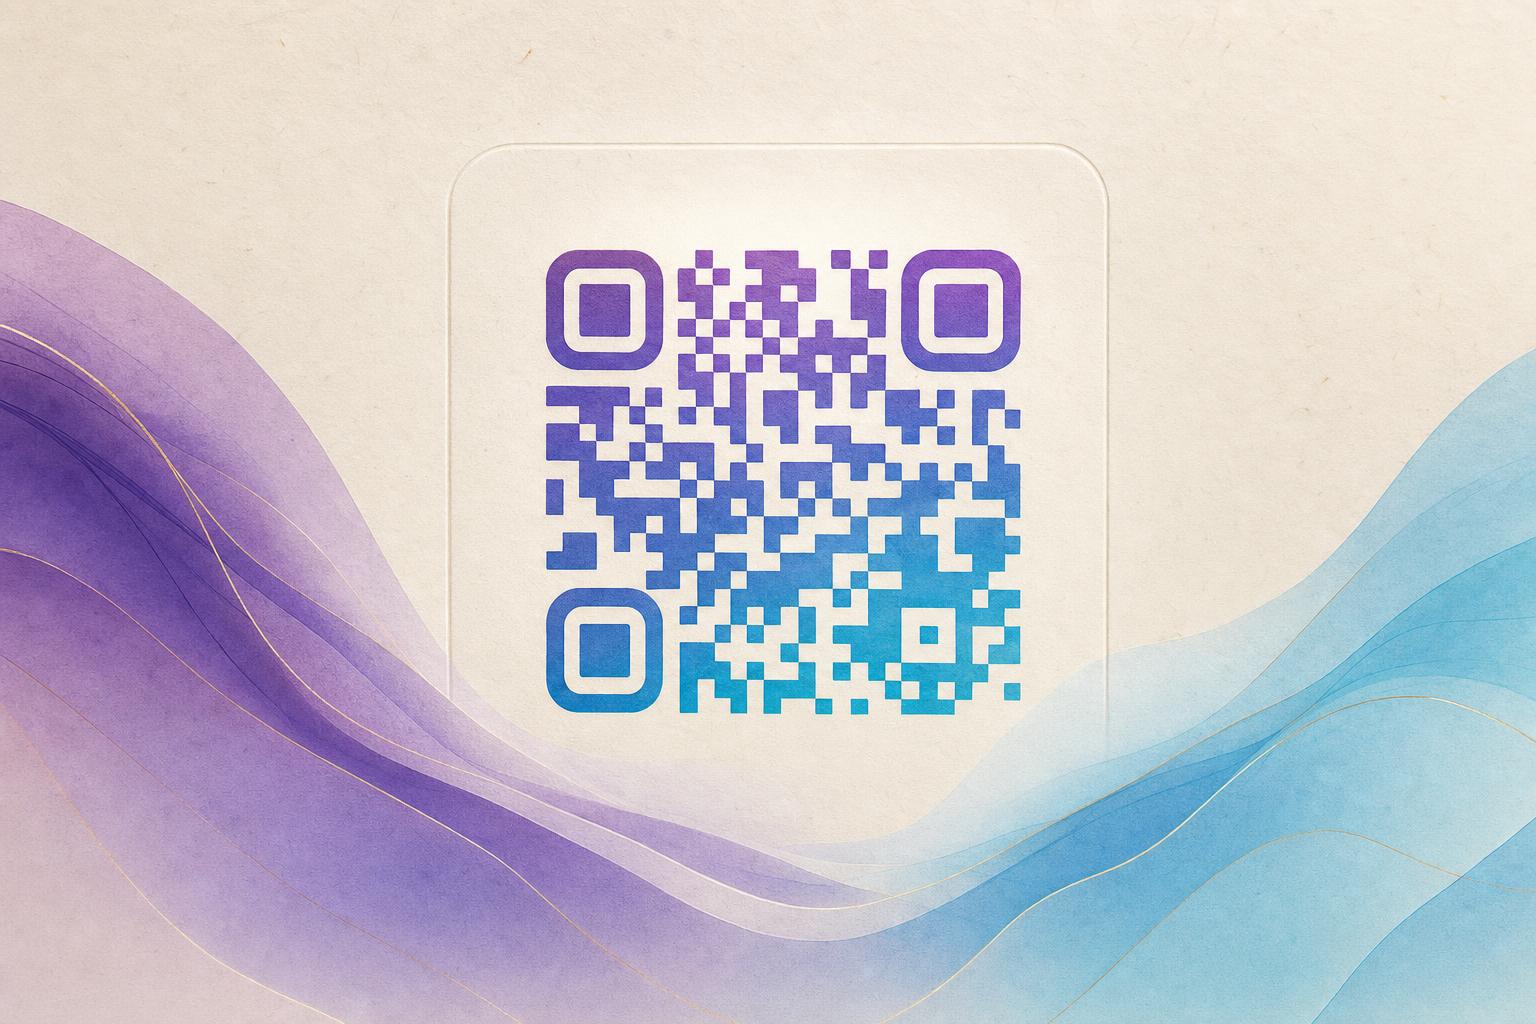
If you want to beautify my QR code without breaking the scan, the fastest route is an AI art QR generator: you upload or link your destination, pick a style, and the tool blends the code pattern into artwork or a photo. The code stays functional while the modules fade into the image, so it looks like a design piece instead of a black-and-white sticker. Below is a practical workflow you can repeat for posters, packaging, menus, and membership cards.
Step 1: Decide what the code must do before you style it
Design decisions are easier once you know the job. Write down three things: the destination URL, where the code will be printed or displayed, and whether you need to change the link later.
- Fixed content: a plain URL to a page that will not change. Simple and safe.
- Editable QR code: a dynamic QR code that points to a short link you control, so you can swap the destination without reprinting.
- Trackable QR code: a dynamic code with QR analytics so you can see scans by date, location, and device.
If the code will live on printed material for months, choose the dynamic route. It costs nothing extra in most workflows and saves you a reprint when a campaign page moves. A custom short link also makes the code easier to read and easier to say out loud.
Step 2: Generate the base code
Start with a standard QR code generator and keep the output clean. Use the shortest URL you can, because fewer characters mean fewer modules and a less crowded pattern. A custom QR domain or short link helps here. Save the image at the highest resolution available; you will need those pixels when the code gets blended into artwork.
Set the error correction level to high if the tool offers the option. Higher correction gives the scanner more room to recover missing or obscured modules, which matters when part of the pattern is covered by illustration.
Step 3: Choose a style that fits the placement
This is where the fun starts. Open the AI Art QR Code Generator and pick a direction that matches your brand or the surface.
- Artistic QR code: the pattern is painted into a scene, illustration, or texture. Good for posters, flyers, and packaging.
- Photo or logo blend: a product shot, portrait, or logo becomes the canvas while the code sits inside it. Strong for retail and event signage.
- Circular QR code: a round frame that suits badges, coasters, stickers, and social avatars. A circular QR code free option is a good way to test the look before committing.
- Animated GIF QR: motion draws the eye on screens, digital menus, and presentation slides.
Keep one rule in mind: the design should support the scan, not fight it. A beautiful code that fails to read is a broken link with extra steps.
Step 4: Protect the scan with contrast and quiet space
Scanners look for dark modules on a light background and a clear margin around the code. When you beautify QR code designs, preserve those fundamentals.
- Keep the finder patterns intact. The three corner squares should stay dark and clearly defined. Do not let artwork swallow them.
- Maintain contrast. Dark foreground on a light background reads best. Avoid low-contrast pastels and busy gradients directly behind the modules.
- Leave a quiet zone. Keep a margin of empty space around the code, ideally four modules wide.
- Do not stretch. Scale proportionally so the pattern does not distort.
- Limit the logo size. If you drop a logo in the center, keep it modest and test it at the final print size.
Test at the size people will actually scan. A code that works on a 27-inch monitor can fail on a 2 cm sticker.
Step 5: Test on real devices and real lighting
Before you send anything to print, run a scan test with at least three phones and two scanning apps. Try it in bright light, low light, and at a slight angle. If your code will appear on a screen, test it at 50 percent brightness too.
Print a proof at final size on the actual material. Glossy stock, dark backgrounds, and textured paper all change how a camera reads the code. If the scan hesitates, increase contrast, enlarge the code, or simplify the artwork behind the data area.
Step 6: Add tracking and a smart redirect
A styled code should also earn its keep. Use a smart QR redirect so one code can send mobile users to an app store link and desktop users to a landing page. Pair it with QR analytics to measure performance across placements, and label each version with its own custom short link so you know which poster or shelf tag drove the scan.
This is where QR code marketing gets practical: a campaign QR code on a flyer, a membership QR on a card, and a live QR code on a menu can all point to different destinations while sharing one design language.
Step 7: Export the right file for each channel
- Print: vector or high-resolution PNG, sized for the final placement.
- Web and email: SVG or a compressed PNG that loads fast.
- Social and screens: square or circular export, plus a GIF version if you want motion.
Keep the source file and a plain backup code. If a design ever fails in the field, you can swap in the simple version without rebuilding the campaign.
Quick checklist before you publish
- Destination URL checked and shortened.
- Dynamic or editable QR code enabled if the link may change.
- Finder patterns clear and contrast strong.
- Quiet zone preserved.
- Logo under control.
- Scan tested on multiple phones at final size.
- Analytics and smart redirect configured.
Once you have a repeatable process, you can beautify QR code designs for every campaign without guessing. Start with a style, protect the scan, test it in the real world, and let the tracking tell you what worked.