
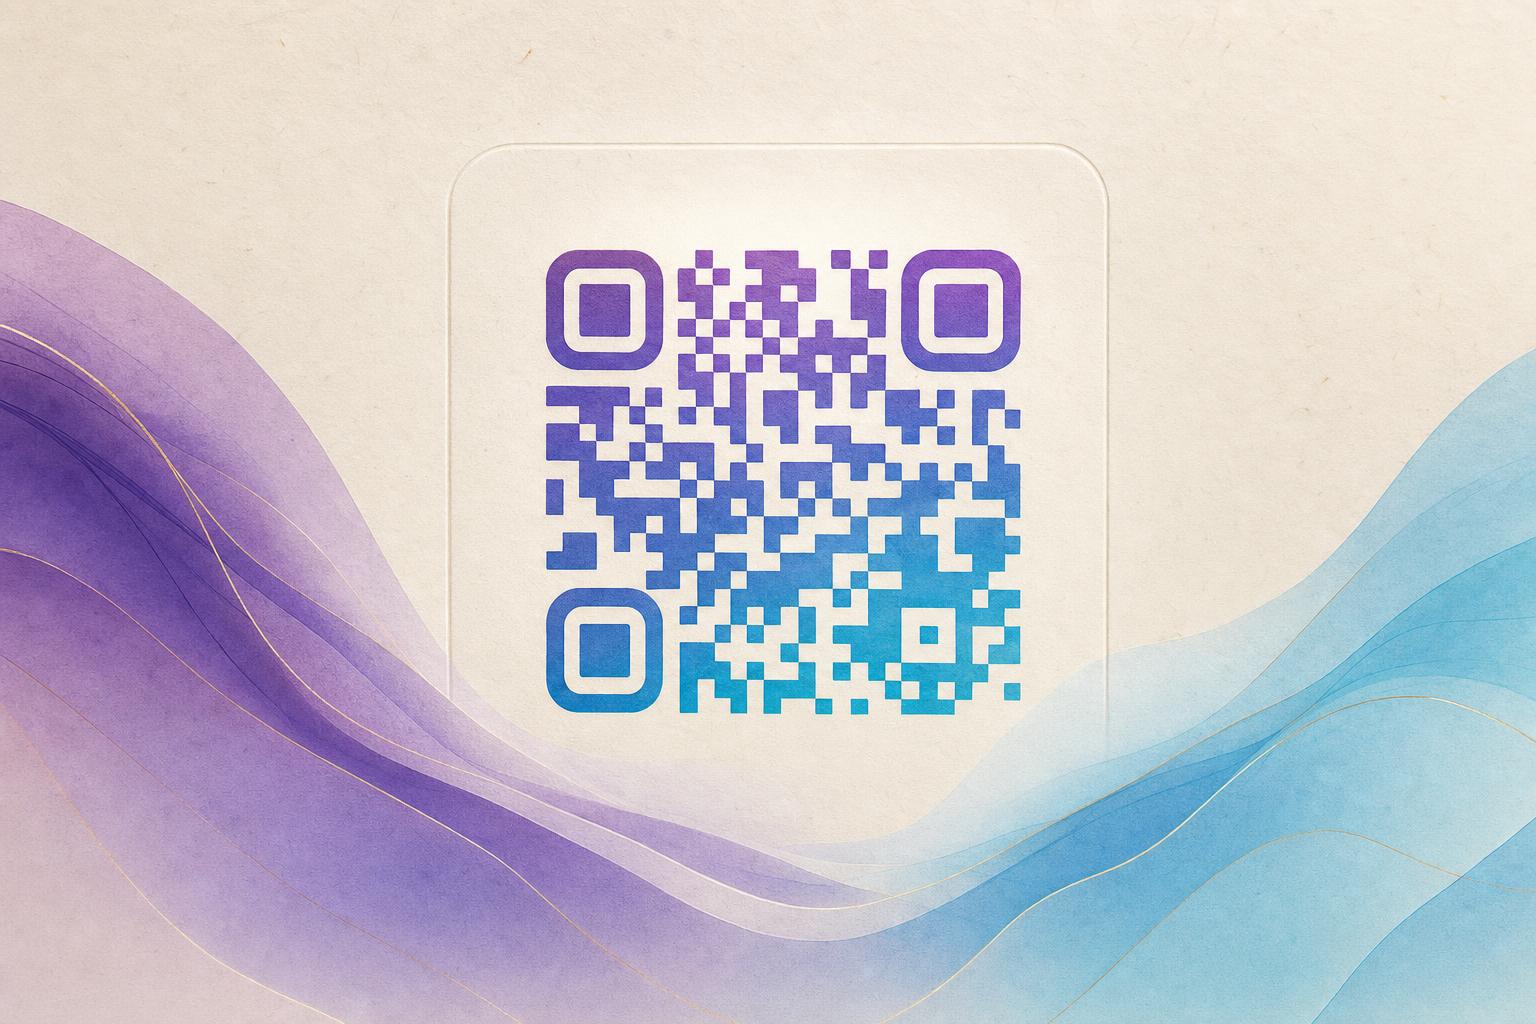
You can edit a QR code free online by generating a code, opening it in a browser-based editor, and changing the design elements (colors, dot shape, eyes, logo, and background) before downloading it. No design software is required, and you do not need to install anything. The key is to keep enough contrast and quiet zone so the code still scans after your edits. The steps below walk you through a full edit, including how to turn a plain black-and-white code into an artistic QR code that still works.
What "editing" a QR code actually means
A QR code is a grid of modules that encodes data. You cannot freely redraw the modules without breaking the data, but you can safely restyle how those modules look. Editing usually covers four layers:
- Data layer: the destination URL or text. Changing this creates a new code or updates a dynamic QR code.
- Visual layer: colors, gradients, module shape (square, rounded, dots for a circular QR code), and the three corner eyes.
- Brand layer: a logo or photo blended into the center, usually called QR fusion.
- Art layer: an AI-generated background or illustration that sits behind or around the modules for a true AI QR code.
Free online editors handle the visual, brand, and art layers well. The data layer depends on whether you use a static or dynamic code.
Step 1: Decide static or dynamic before you edit
This choice affects everything later. A static code stores the URL directly in the pattern. Once printed, it cannot be changed, and editing is cosmetic only. A dynamic QR code points to a short redirect link you control, so you can change the destination later without reprinting.
If the code will live on packaging, posters, or menus, choose dynamic. You get an editable QR code, a custom short link, and QR analytics such as scan counts by time and device. For one-off flyers, static is fine.
Step 2: Generate the base code
Start with a clean, high-contrast code before styling. Use a free AI art QR code generator to create the base pattern and destination in one place. Paste your URL, keep the error correction level at High (H) if you plan to add a logo, and generate. Higher error correction lets the scanner recover data when part of the code is covered by artwork.
Quick pre-edit checklist
- Destination URL tested in a private browser window.
- Error correction set to H for logo or art edits.
- Minimum export size of 1000 px for print, 500 px for screens.
- A quiet zone (blank margin) of at least four modules on every side.
Step 3: Restyle colors and shapes
Open the editor and work top to bottom. Change the foreground (modules) and background first, then the shape.
- Pick two colors with strong contrast. Dark modules on a light background scan best. Avoid light-on-dark unless you test carefully.
- Choose a module shape. Rounded or dot modules give a softer styled QR code; squares are the most reliable.
- Style the eyes separately. Rounded or custom eyes add personality without touching the data area.
- Add a gradient sparingly. Keep the darkest end of the gradient on the modules, not the background.
After each change, scan the code with two phones at arm's length. If it hesitates, increase contrast or revert the shape.
Step 4: Blend in a logo or photo
Placing a logo in the center is the most common brand edit. Keep the logo under roughly 25–30% of the code area, and only do this with error correction at H. Use a transparent PNG so the modules around it stay visible. For a photo-based look, use a fusion tool that masks the image to the module grid rather than pasting a rectangle over the code.
Rule of thumb: the more artwork you add, the more you should test on older phones and in low light.
Step 5: Go artistic with AI backgrounds
This is where an AI QR code stands out. Instead of a plain white square, the code sits inside an illustration, poster, or scene. A good workflow:
- Describe a background that matches your campaign (product texture, seasonal scene, brand pattern).
- Keep the busiest detail away from the three corner eyes.
- Let the tool blend modules into the art so the pattern reads as part of the image.
- Export at high resolution, then test the final file, not just the preview.
This approach works well for QR code marketing because the code becomes part of the design rather than a sticker added at the end. Pair it with an AI poster layout when you need a print-ready piece.
Step 6: Test, export, and track
Testing is the step most people skip. Run this sequence before you publish:
- Scan with iOS and Android cameras, plus one third-party scanner app.
- Test at the final print size, not zoomed in on a monitor.
- Test in dim light and at a slight angle.
- Confirm the landing page loads fast on mobile.
- Export PNG for screens and SVG or PDF for print.
If you used a dynamic code, open your dashboard and confirm the smart QR redirect is live. Add UTM parameters so QR analytics shows which placement drove scans. A custom QR domain keeps the short link on-brand and makes the code easier to trust.
Common editing mistakes to avoid
- Low contrast: pastel modules on white will fail.
- Logo too large: covering the center beyond the error-correction limit breaks scanning.
- No quiet zone: art touching the code edges confuses readers.
- Editing a static code's destination: impossible after print, so plan ahead.
- Skipping real-world tests: a preview is not a scan test.
Frequently asked questions
Can I really edit a QR code for free?
Yes. Free online editors let you change colors, shapes, logos, and backgrounds, and export a finished file. Advanced tracking and destination changes require a dynamic code, which may have limits on a free tier.
Will editing break my QR code?
Only if you reduce contrast, cover too much of the pattern, or remove the quiet zone. Keep error correction high and test after each change.
Can I change where the code points after printing?
Only with a dynamic code that uses a redirect link. That is the main reason to choose dynamic for any long-lived campaign, membership QR, or live QR code.
What file format should I export?
PNG for web and social, SVG or PDF for print so the code stays sharp at any size.
Editing a QR code free online comes down to a simple order: choose static or dynamic, generate a clean base, restyle colors and shapes, add brand or art elements carefully, then test and export. Follow that sequence and you get a code that looks custom and still scans every time.