
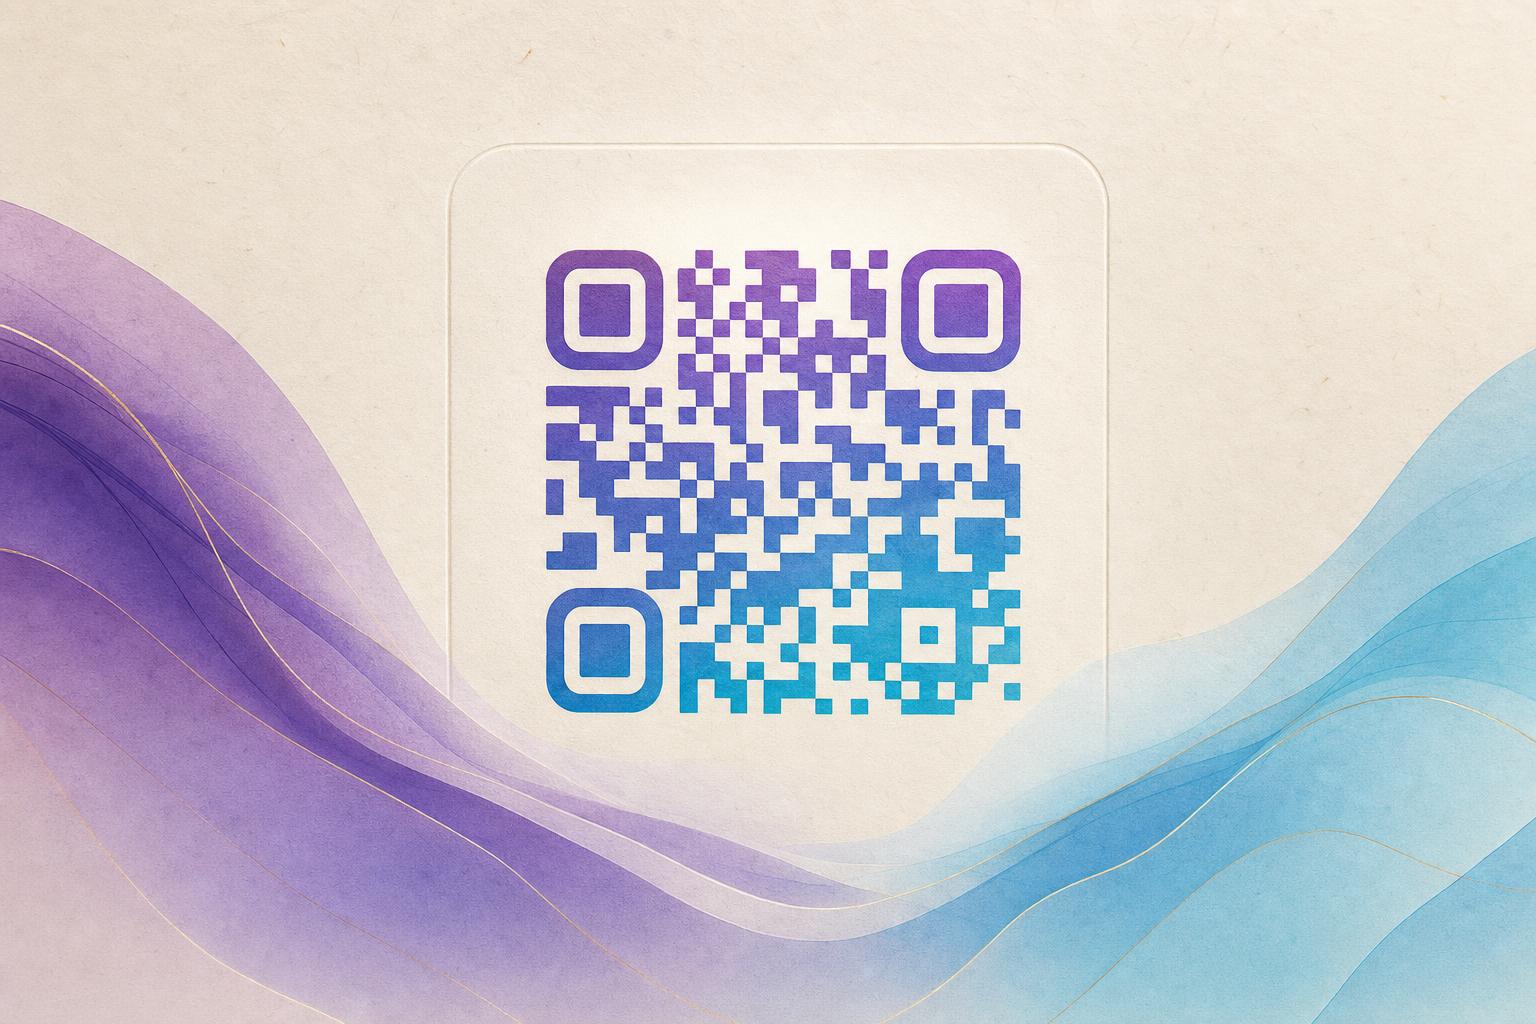
An AI QR code generator takes a standard black-and-white code and blends it into artwork, a photo, or a branded design while keeping it scannable. The fastest way to get one is to open the AI Art QR generator, paste your destination link, choose a style, and let the tool render a code you can download and test. This guide walks through the full process so your finished design looks good and still works on every phone.
What an AI QR code actually is
Every QR code is a grid of modules that carries data. An AI art QR keeps that data pattern intact but reshapes the surrounding pixels so the code reads as part of a picture. The result is a styled QR code that fits a poster, a product label, or a menu instead of looking like a technical sticker.
Two things matter for success: the code must remain readable by a normal camera app, and the artwork must not bury the alignment markers. A good AI QR code generator balances both automatically, but you should still verify the output yourself.
Step 1: Decide what the code should do
Before you design anything, pick the destination. Common choices include a landing page, a menu, a signup form, a video, or a membership page. If the link might change later, use a dynamic QR code so you can update the destination without reprinting the artwork.
- Static link: fine for permanent destinations that will never change.
- Dynamic QR code: best for campaigns, seasonal offers, and anything you may need to edit.
- Scan to redirect: useful when one code should send different audiences to different pages.
Step 2: Generate the base code
Open the AI art QR tool and paste your URL into the input field. Keep the link short and clean, since long URLs create denser codes that are harder to hide inside artwork. If you have a custom short link or a custom QR domain, use it here; shorter data means a cleaner, more flexible design.
Set the error correction level to a higher setting if the tool offers the option. Higher correction gives the scanner more room to recover data when part of the code is covered by art, which is exactly what happens in a blended design.
Step 3: Choose a style that matches the artwork
This is where the design comes together. Most AI art QR tools offer style presets, and the right one depends on where the code will appear.
- Photo blend: ideal for posters and flyers where the code sits inside a photograph.
- Illustration or painterly: good for event tickets, packaging, and creative campaigns.
- Minimal and geometric: best for business cards, product labels, and clean brand layouts.
- Logo fusion: place your logo in the center while the code pattern wraps around it.
If you are building a full visual, you can pair the code with an AI poster design workflow and treat the QR as one element of the layout rather than an afterthought.
Step 4: Tune contrast and quiet zone
Scannability depends on contrast between the modules and the background. Dark modules on a light background work best. Inverted codes, where light modules sit on a dark background, fail on some older scanners, so test before you commit.
Leave a clear margin around the code. This quiet zone lets the camera lock onto the code quickly, especially when the code is printed small or placed on a busy background.
If you cannot see the three corner squares clearly at arm's length, the scanner will struggle too. Adjust the artwork before you export.
Step 5: Test on real devices
Download the image and scan it from a screen, then print a proof and scan the printed version. Test with at least two phones and both a native camera app and a dedicated scanner. Check these conditions:
- Bright indoor light and dim indoor light.
- Printed at the final size, not just on screen.
- Held at a slight angle, as people naturally do.
- From the distance a real user would stand.
If a scan fails, increase contrast, enlarge the code, or simplify the artwork near the corner markers.
Step 6: Add tracking and editability
A designed code is only useful if you can measure it. Use a trackable QR code so you can see scan counts by date, location, and device. With a dynamic QR code you can also change the destination after printing, which saves a reprint when a campaign link moves.
QR analytics help you compare placements: a code on a poster versus one on a table tent will perform differently, and the data tells you where to invest next.
Step 7: Export and place it well
Export at the highest resolution available, ideally as a vector or a large PNG. Size the printed code so it is at least 2 cm by 2 cm for close-range scanning, and larger for posters viewed from a distance. Keep the code away from folds, glare, and curved surfaces.
Add a short call to action nearby: "Scan for the menu" or "Scan to claim." People are far more likely to scan when they know what happens next.
Where artistic QR codes work best
- Packaging: a blended code feels like part of the label rather than a sticker.
- Event posters: an AI poster with an integrated code drives ticket sales.
- Restaurant tables: a styled code for menus and reviews.
- Membership cards: a membership QR that matches the card design.
- Retail displays: campaign QR codes that link to offers and landing pages.
Common mistakes to avoid
- Covering the corner alignment markers with artwork.
- Using low contrast, such as gray modules on a beige background.
- Printing too small for the viewing distance.
- Skipping the printed proof test.
- Using a static code for a link you may need to change.
Final checklist
- Destination link is final, or the code is dynamic.
- Error correction is set high.
- Artwork leaves the corner markers visible.
- Quiet zone is clear on all sides.
- Tested on two phones and one printed proof.
- Tracking is enabled and the link resolves correctly.
Once those boxes are checked, you have a beautiful QR code that works as hard as it looks. Start with the AI Art QR generator, build your first design, and refine from there.