
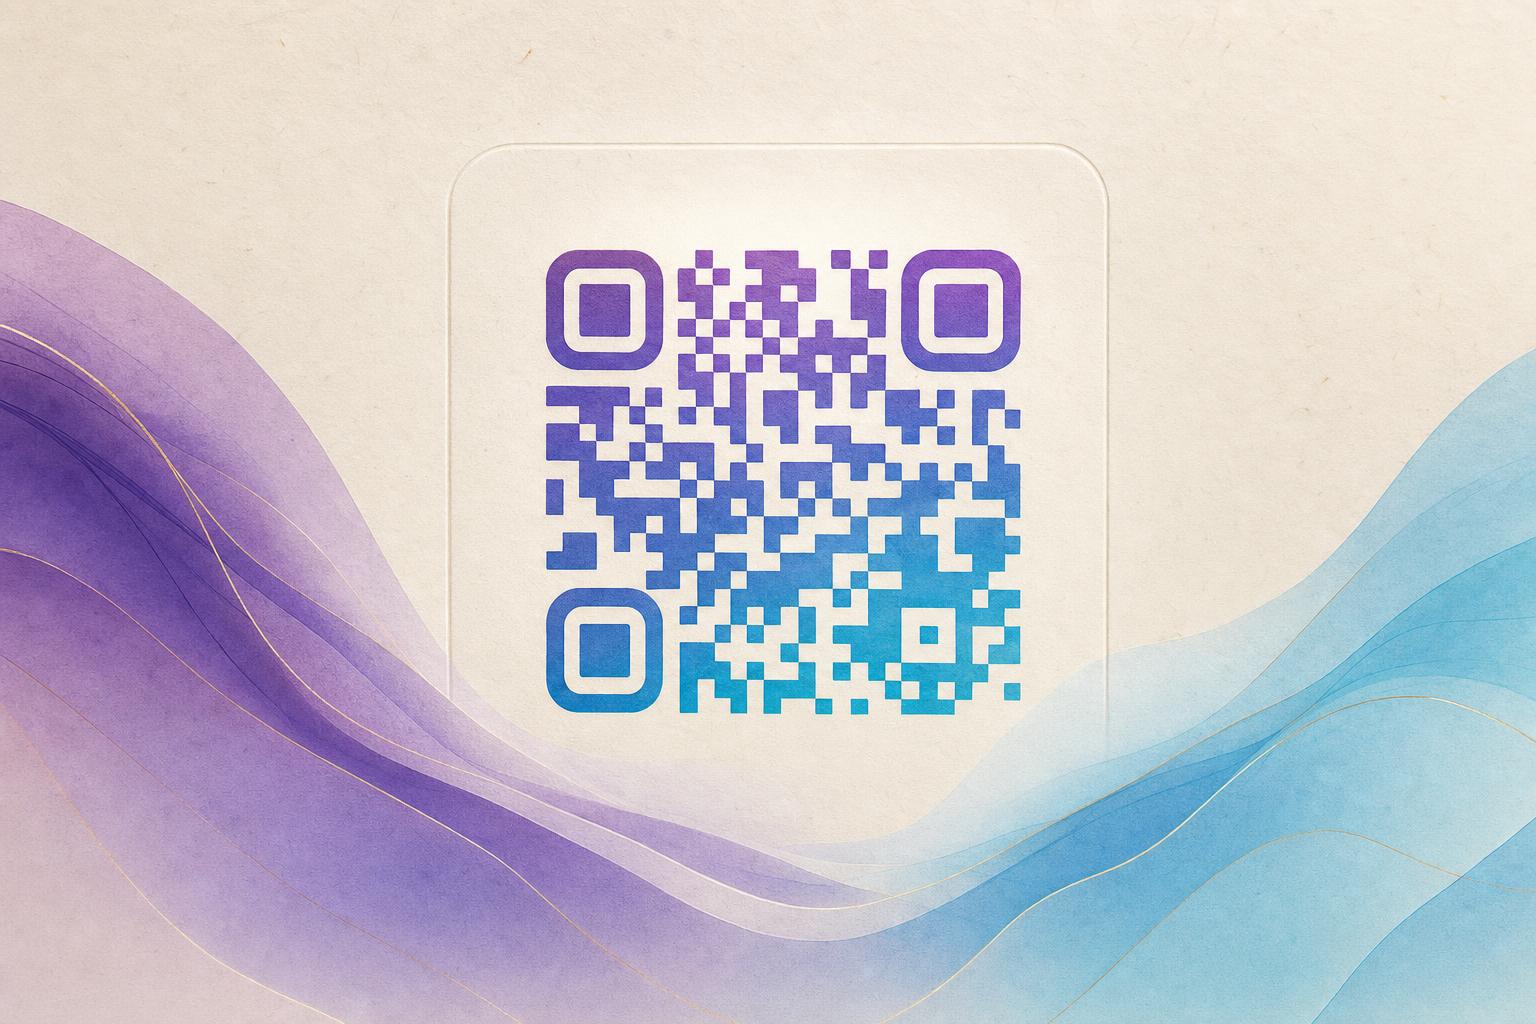
An editable QR code is a QR code whose destination you can change after it has been printed or shared. Instead of encoding your final URL directly into the pattern, an editable code points to a short redirect link you control. When someone scans it, the redirect sends them wherever you have set it to go. To change the destination, you edit the redirect, not the printed image. That is the entire trick, and it is why editable codes are the default choice for posters, packaging, menus, and anything else that is expensive to reprint.
The second half of the job is making that code look good. A plain black-and-white square can clash with a designed layout. The practical answer is to build the editable code first, then style it with an AI Art QR tool that blends your artwork, logo, or photo into the pattern without breaking scannability.
Static vs. editable: what actually changes
A static QR code stores the destination inside the pattern itself. It never expires and needs no service, but it is frozen the moment you export it. If the link breaks or the campaign ends, the code is dead and every printed copy becomes waste.
An editable QR code (often called a dynamic QR code) stores a short link instead. The link resolves to your current destination. That gives you three practical advantages:
- Change the destination anytime. Swap a campaign page, update a menu, or fix a typo without touching the artwork.
- Track scans. Because every scan passes through the redirect, you can see volume, timing, and rough location in QR analytics.
- Keep one code forever. Reuse the same printed code across seasons by editing where it points.
The trade-off is that the redirect has to stay live. Choose a stable provider and keep your account active.
Step 1: Decide what the code should do
Before you design anything, write down the single action you want from a scan. Common goals include opening a landing page, joining a membership QR flow, downloading a file, or starting a chat. One code should serve one goal. If you need two actions, make two codes so your analytics stay readable.
Step 2: Create the editable QR code
Open your QR code generator and choose the dynamic or editable option. Paste your destination URL and generate the code. The tool will give you a short redirect link and a code image. Save both. The redirect link is the piece you will edit later, so keep it somewhere you can find it in six months.
If you want a branded address instead of a generic short link, look for a custom short link or custom QR domain setting. A domain that matches your brand reads as more trustworthy on a printed poster and is easier to say out loud.
Step 3: Test before you style
Scan the plain code with at least two phones and confirm it lands on the right page. Do this now, while the design is still simple. Debugging a redirect is far easier before artwork is layered on top.
Step 4: Style the code with AI art
This is where an editable code stops looking like a utility and starts looking like part of the design. Upload a photo, logo, or illustration, and the AI art QR tool blends it into the pattern while keeping the modules readable. A few practical choices make a big difference:
- Match contrast. Dark artwork on a light background scans best. Avoid low-contrast pastels in the code area.
- Keep the center calm. If you place a logo in the middle, leave enough quiet space around it and use error correction to absorb the loss.
- Try a circular QR code. A circular QR code generator produces a round frame that sits naturally on badges, coasters, and stickers.
- Respect the quiet zone. Leave a clear margin around the code so a camera can isolate it from surrounding graphics.
If you are building a full campaign visual rather than a single code, you can also use an online poster maker or poster generator to place the styled code inside a finished layout, then export at print resolution.
Step 5: Set up tracking and redirects
In your dashboard, attach the redirect to the code and enable QR analytics. Add UTM parameters to the destination URL so your web analytics can separate QR traffic from other channels. If you plan to run several placements, create separate editable codes for each one, for example one for the poster and one for the table tent. Same artwork, different redirects, cleaner data.
One editable code per placement is the simplest way to learn which surface actually drives scans.
Step 6: Export, print, and verify
Download the code as a vector file such as SVG or PDF for print, and as PNG for screens. Check the physical proof at the real size: a code that looks fine on a monitor can be too small on a business card. As a rule, keep the printed code at least 2 cm wide for close scanning and larger for posters viewed from a distance.
After printing, scan the final piece once more under normal lighting. Then leave it alone. The artwork is fixed, but the destination is not, and that is the point.
Step 7: Edit when you need to
When the campaign changes, open your dashboard, find the code, and update the destination URL. The printed image keeps working. Refresh any landing page content, confirm the new link loads on mobile, and scan again to verify. If the old destination should still work for a while, consider pointing the redirect to a page that offers both options.
Common mistakes to avoid
- Styling before testing. Always confirm the redirect works on the plain code first.
- Over-decorating. Too much artwork in the data area breaks scans. Let the AI keep the modules readable.
- Forgetting the account. An editable code depends on a live redirect. Keep billing and login details current.
- One code for everything. It saves a minute and costs you all your QR analytics.
Treat the editable code as infrastructure and the artwork as design. Build the redirect once, style it with a beautiful QR code generator, and you get a code that looks like part of your brand and still lets you change your mind.