
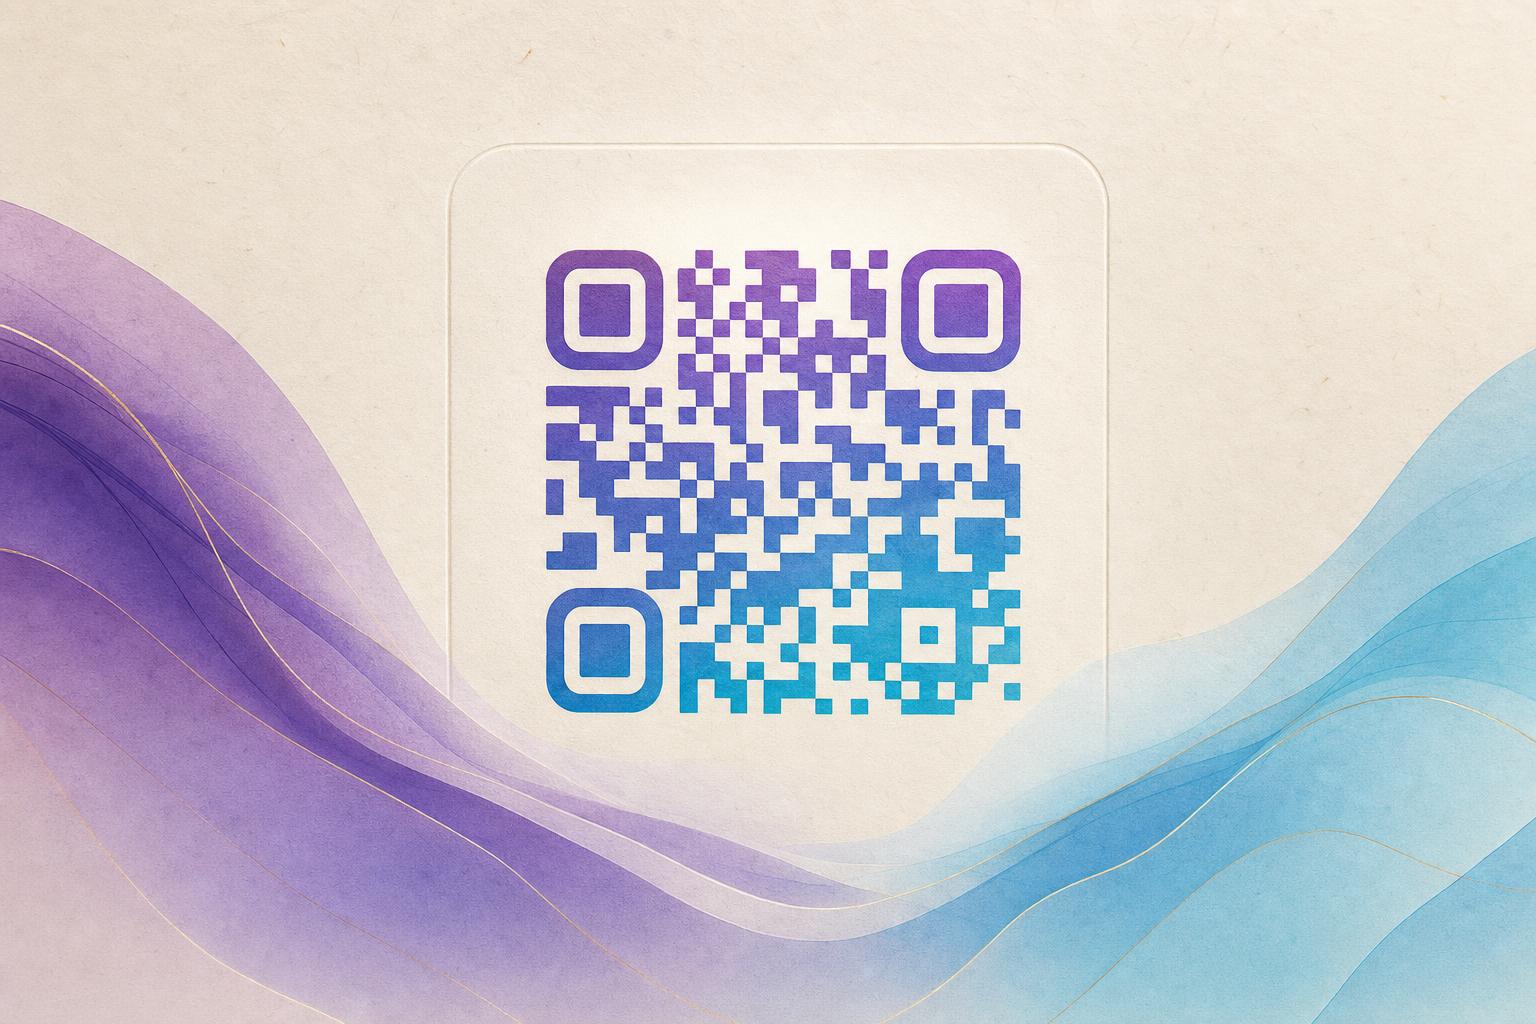
A circular QR code generator lets you turn a standard square code into a round design that fits logos, badges, product seals, and social avatars. The short answer: create a round code by generating a styled QR code with circular modules and a custom center, then test it on multiple phones before you publish. The fastest route is to open the AI Art QR tool, upload your photo or logo, choose a circular style, and export once the scan test passes.
Round codes are popular because they blend into design work far better than a black square. But a circle changes how modules sit at the edges, so you need a process. Below is a practical workflow you can repeat for any campaign.
Why choose a circular QR code
A circular QR code reads as a design element rather than a utility box. That matters in three common places:
- Packaging and labels: a round code sits inside a seal, a cap, or a sticker without awkward corners.
- Social and profile images: circular crops are the default on most platforms, so a round code never gets clipped.
- Print and merch: badges, coasters, tote bags, and business cards look cleaner with a round scan point.
The tradeoff is error tolerance. A circle removes the square corners that scanners use as a visual anchor, so you must keep strong contrast and a clean quiet zone around the edge.
Step 1: Decide what the code should do
Before you style anything, pick the destination and the format. A dynamic QR code lets you change the destination later without reprinting, which is the right choice for anything printed at scale. A static code is fine for a one-off, permanent link.
For campaigns, choose a dynamic QR code so you can swap the landing page, add a custom short link, and read QR analytics later. If you plan to reuse the same code across seasons, an editable QR code saves real money on print runs.
Step 2: Generate the round base
Open the AI Art QR generator and follow this order:
- Paste your destination URL and confirm it loads correctly in a browser.
- Select a circular or dot-based module shape so the code reads as round.
- Keep the three corner markers intact and high-contrast. These are what scanners lock onto first.
- Set a center area for a logo or icon, but keep it small, roughly under a fifth of the total width.
- Export a PNG at print resolution, and also save an SVG if you plan to resize.
Step 3: Blend in art without breaking the scan
This is where an AI QR code approach earns its place. Instead of pasting a code onto a picture, you generate a design where the code and the image share the same visual language. A few rules keep it usable:
- Contrast first. Dark modules on a light field, or the reverse, must stay clearly separated. Low-contrast art is the most common failure.
- Keep the center calm. Put faces, logos, or busy texture away from the middle where the code carries less redundancy.
- Avoid gradients across modules. Smooth color blends can blur module edges at small sizes.
- Test at final size. A code that scans on a monitor may fail on a 2 cm sticker.
If you want a photographic look, use QR Fusion to merge a photo or brand image with the code pattern. For a logo-led badge, the art tool is usually enough.
Step 4: Test before you print
Run this checklist every time:
- Scan with at least three devices, including one older phone with a weaker camera.
- Test in low light and at an angle.
- Print a proof at the exact final size and scan the proof, not the screen.
- Confirm the landing page loads fast on mobile data.
If a round code fails, the fix is usually more contrast, a larger center logo, or a wider quiet zone, not a new design.
Step 5: Manage and measure
Once the code is live, treat it as a small campaign asset. Use a trackable QR code so you can see scans by day, device, and location. A smart QR redirect lets you send mobile users to an app store and desktop users to a web page from the same code.
Practical habits that pay off:
- Use a custom QR domain so the link looks like your brand, not a random shortener.
- Keep one code per placement so your QR analytics stay readable.
- For recurring audiences, a membership QR with a live QR code that updates content works better than reprinting.
- Refresh the artwork seasonally while keeping the same destination and tracking.
Step 6: Keep the brand consistent
A round code is a brand asset, so standardize it. Save a template with your colors, logo placement, and margin rules. Apply the same QR branding to posters, packaging, and slides so every scan point feels related.
If you also produce campaign visuals, pair the code with an AI poster built in the same palette. An online poster maker or poster generator can carry the round code into a full layout without a designer round trip, which keeps small teams moving.
Common mistakes to avoid
- Cropping the quiet zone. Leave clear space around the circle, at least four modules wide.
- Oversized center art. Big logos look good and scan badly.
- Styling a static code. If you might change the link, start dynamic.
- Skipping the proof. Screen tests hide print problems like ink spread and low contrast.
Quick recap
Use a circular QR code generator to build a round, on-brand scan point, keep the corner markers and contrast intact, test on real devices at final size, and run it as a dynamic code so you can edit and track it later. Start with the AI Art QR tool, export a print-ready file, and let the scan test decide when the design is finished.