
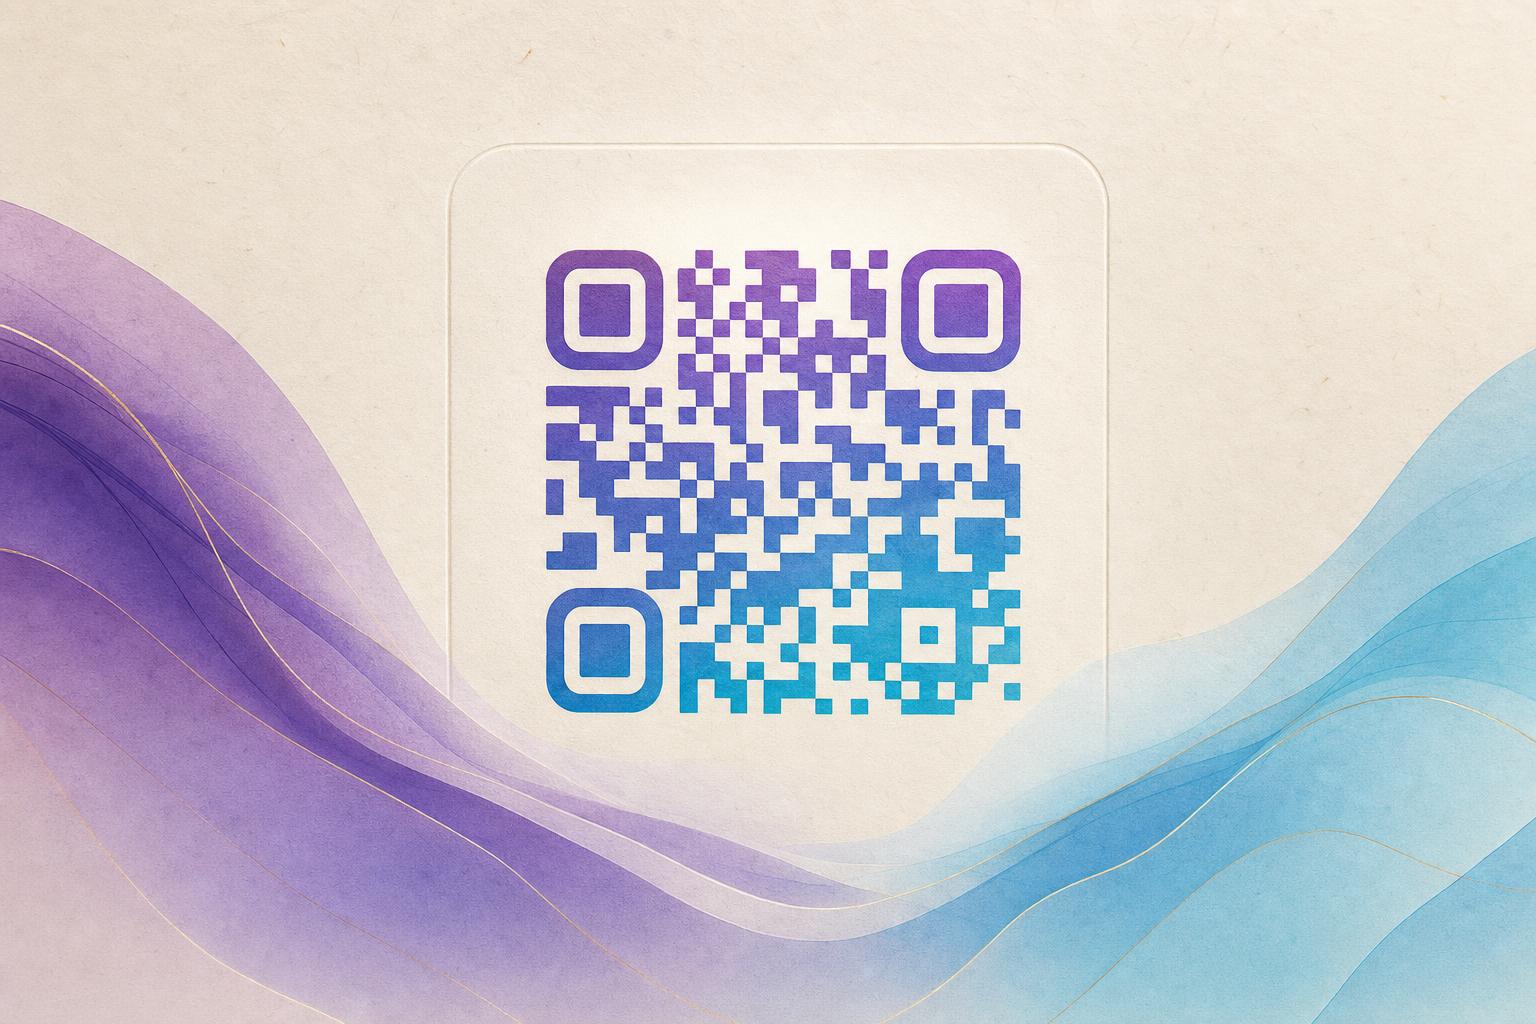
If you searched for ai qr code free, the short answer is this: yes, you can create an AI QR code without paying, as long as you know what "free" covers and how to protect scan reliability. A free ai qr code generator will typically let you generate and download a static artistic QR code at no cost, while advanced options such as a dynamic QR code, QR analytics, or a custom short link may sit behind a paid tier. The practical path is to design your art first, test it with a phone, and only upgrade when you need editing or tracking. Below is a repeatable workflow you can finish in about fifteen minutes.
Step 1: Decide what the code must do before you make it pretty
Artistic codes fail for one boring reason: the design was chosen before the destination. Start with the job.
- One link, never changing: a static code is fine and truly free forever. Good for a menu, a Wi-Fi page, or a single product page.
- Something you will edit later: use a dynamic QR code so you can swap the destination without reprinting. This is where an editable QR code earns its keep.
- Something you need to measure: choose a trackable QR code with QR analytics so you can see scans by day, device, and city.
- Something on-brand: a custom QR domain and custom short link keep the printed URL short and recognizable.
Write the destination URL down. If it is longer than roughly 40 characters, shorten it first, because shorter data means fewer modules and a cleaner canvas for your artistic QR code.
Step 2: Generate the artwork with an AI art QR tool
Open the AI Art QR tool and paste your link. You will be working inside a QR code studio that blends the code matrix with generated imagery, which is what separates an AI art QR from a plain black-and-white square.
- Enter the destination and confirm the preview loads a scannable code before you touch any style settings.
- Pick a theme that matches the placement. A coffee shop window, a wedding invitation, a product label, and a conference badge each need different visual weight.
- Describe the art in plain words. Name the subject, the palette, and the mood. Concrete prompts beat vague ones.
- Choose a code style. A circular QR code or styled QR code with rounded modules looks softer; a square grid reads as more technical.
- Place the logo or photo. If you are blending a brand mark, keep it centered and small. The finder patterns in three corners must stay visible.
Rule of thumb: the more artistic freedom you take, the more contrast you must preserve between the code modules and the background.
Step 3: Protect scan reliability while you beautify the QR code
This is the step most people skip, and it is the reason a beautiful code sometimes fails in the wild. When you beautify QR code designs, you are trading error correction headroom for aesthetics.
- Keep dark modules dark and light areas light. Never invert the code or place it on a busy mid-tone background.
- Respect the quiet zone. Leave a clear margin around the code, ideally about four modules wide.
- Do not cover the three corner squares. Art can flow around them, not over them.
- Test at final print size. Scan from the distance a real person will stand, in the lighting they will actually have.
- Test on two phones, one older model if possible, and with the default camera app rather than a third-party scanner.
If a scan hesitates, reduce the art density, increase the contrast, or make the code area slightly larger within the composition. A QR design tool that lets you regenerate variations makes this fast: adjust one variable at a time and re-test.
Step 4: Choose static or dynamic before you download
Free usually means static. That is genuinely enough for a poster, a flyer, or a single event. Use a dynamic QR code generator when any of these are true:
- The destination will change (a seasonal menu, a rotating campaign page).
- You want scan to redirect logic, such as sending mobile users to an app store and desktop users to a website.
- You need QR analytics to justify the spend on a campaign QR code.
- You want a live QR code that keeps working after print, with a smart QR redirect behind it.
A membership QR or a loyalty card is a classic case: print once, then point the code at whatever offer is live this month. That is QR code marketing done properly, and it is why an editable QR code is often worth more than a free static one.
Step 5: Download the right file for the medium
Export format matters more than most people expect.
- Print: use a vector file or a high-resolution PNG. Small raster images blur at the edges and lose scannability.
- Screen and social: a standard PNG at a reasonable size is fine.
- Animated placements: if you want motion, a GIF format keeps the code readable while the art moves. Keep the animation subtle and never let moving elements cross the code modules.
Name your files clearly, including the destination and the date, so a future reprint does not reuse an outdated code.
Step 6: Reuse the design across a campaign
Once you have one AI QR code that scans cleanly, treat it as a template. The same layout can become an AI poster, a table tent, a sticker, or a packaging label. If you are building a full visual set, pair the code with an online poster maker or poster generator so the typography and palette stay consistent across every asset. Consistency is what turns a single code into recognizable QR branding.
Keep a simple record for each code: destination URL, design file, print date, and where it was placed. When you run several at once, that record is the difference between QR code marketing that you can measure and a pile of codes nobody can attribute.
Quick checklist before you print
- Destination link shortened and tested in a private browser window.
- Code scanned on two phones at real-world distance.
- Quiet zone intact and corner patterns unobstructed.
- Logo or photo small and centered, not covering data modules.
- Vector or high-resolution file exported for print.
- Dynamic code confirmed as editable, with analytics enabled if needed.
That is the whole method. Free gets you a genuinely attractive AI art QR; discipline about contrast and testing is what keeps it working long after the design feels finished.